
Okay. So you’re a 20-something single guy. Your roommate found out your mom was in town and invited her for supper. Without asking you first. Or cleaning up the 3 days worth of dishes in the kitchen. You can solve the “what to cook” problem with one of those frozen skillet meal things, but there’s really no room to do anything in the kitchen, not to mention that when your mom sees the place, her suspicions about you being an irresponsible child will be confirmed. The question is, “Where do you START?”
I’m going to give you some basic step-by-step instructions to help break this down and keep it from being too overwhelming. My instructions will be based on having to hand wash the dishes. Mostly because my dishwasher has been broken for so long. But you can use your basic common sense and adapt them by changing “wash the dishes” to “load the dishwasher”. The same basic guidelines apply in either case.
My instructions will be rather detailed, and you may already know to do many of the things I mention. However, since some of my readers may have had no training whatsoever, I’m going to assume that someone out there may need the most basic instruction. So take what you need and skim the parts you already know. 🙂
Depending on how long you’ve let the mess go, this is going take you anywhere from 30 minutes to a couple of hours. So roll up your sleeves and let’s get crackin’!

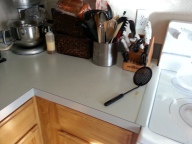
Okay, so your kitchen may be a lot worse than these pictures, but the mother of these “irresponsible children” lives here and actually occasionally sees to it that the dishes get done. Don’t worry – the same basic principles used to clean this kitchen should work on an even bigger mess. 🙂


As you look around, don’t see the mess as a whole, but as manageable parts. We will tackle these one at a time until everything is all done.

STEP ONE: Throw away all trash and take all recyclables (if you have recycling) out to the bin.
Take care of as much of this as you can in one fell swoop. You may have to come back to this step as you complete other steps, but get as much of it done now as you can. This will make more room to deal with the actual dishes. See how much more counter you can see after this first step?
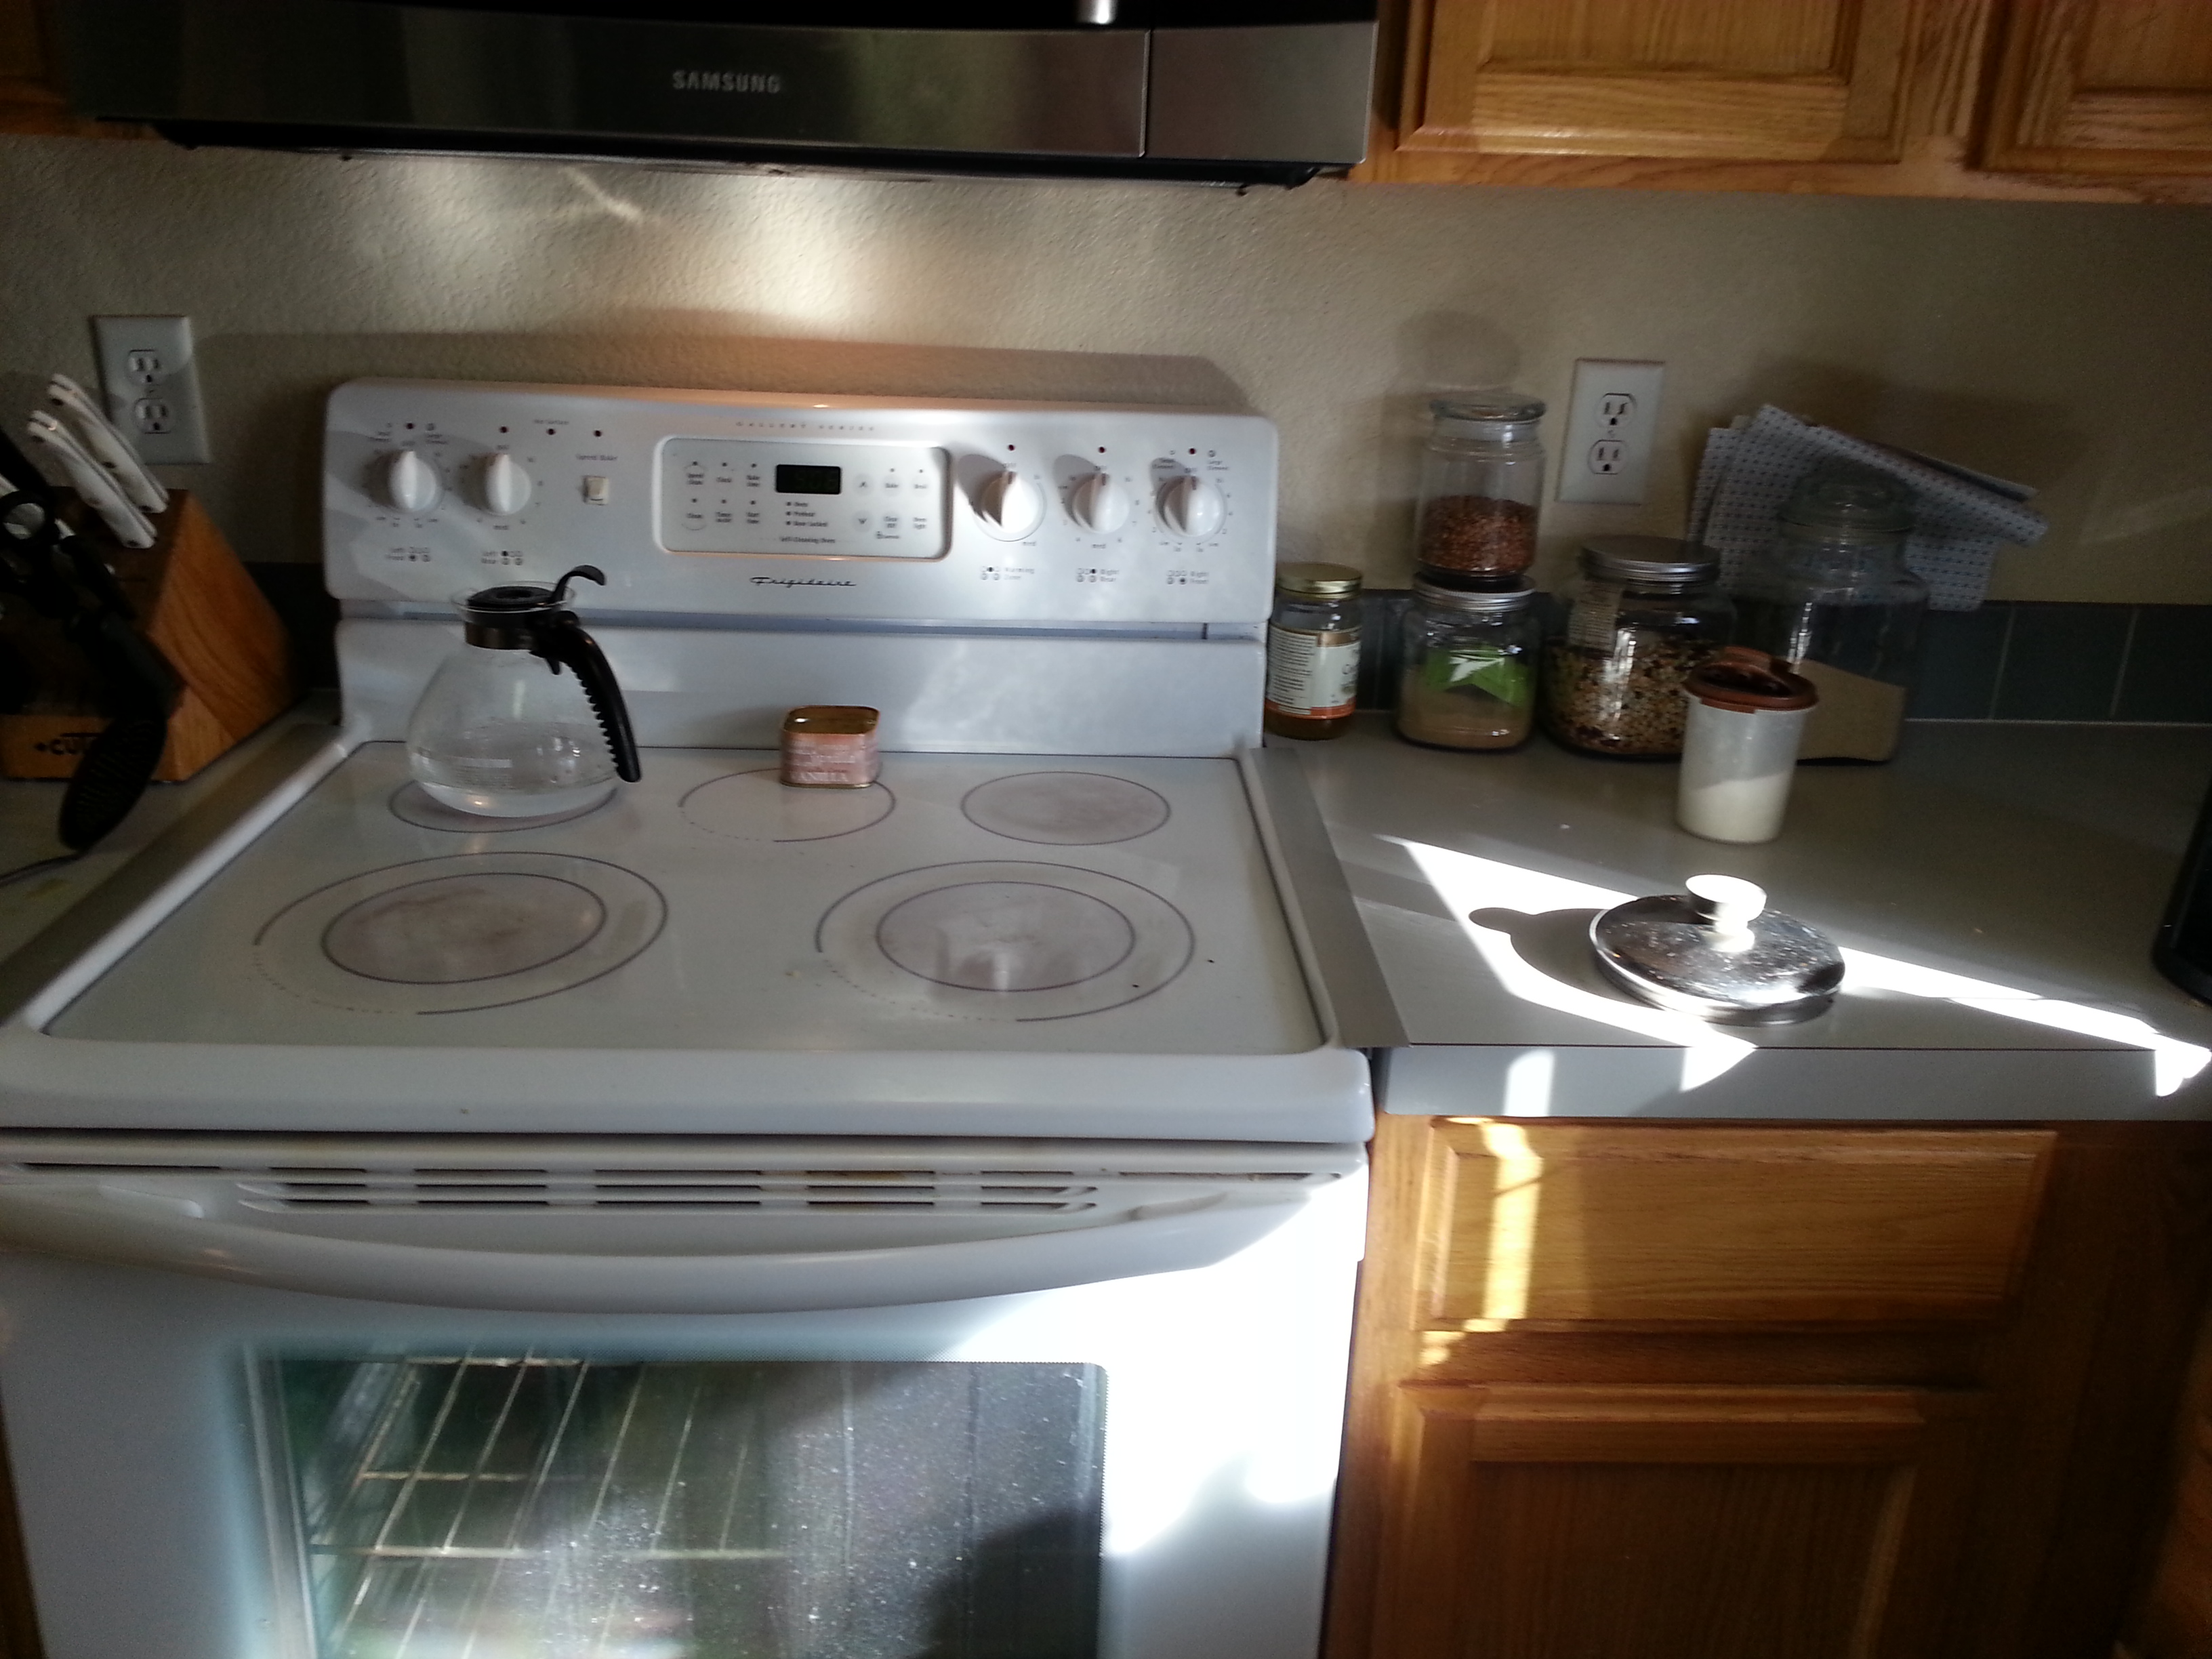 STEP TWO: Put away all food, spices and appliances.
Again, you may come across more of these items as you complete later steps, especially if your mess is much larger than this one was. This is because you may be un-burying items as you go. But get to all you can now. If you focus on completing one step at a time, you are less likely to get overwhelmed.
In the future, a good guideline for a minimum to complete after every meal would be these first two steps. Most of us have gone into the kitchen in the morning for breakfast and found food that should have been refrigerated and now needs to be thrown out so that no one gets sick from eating it! You can mostly avoid this dilemma by completely at least steps one and two after every meal.
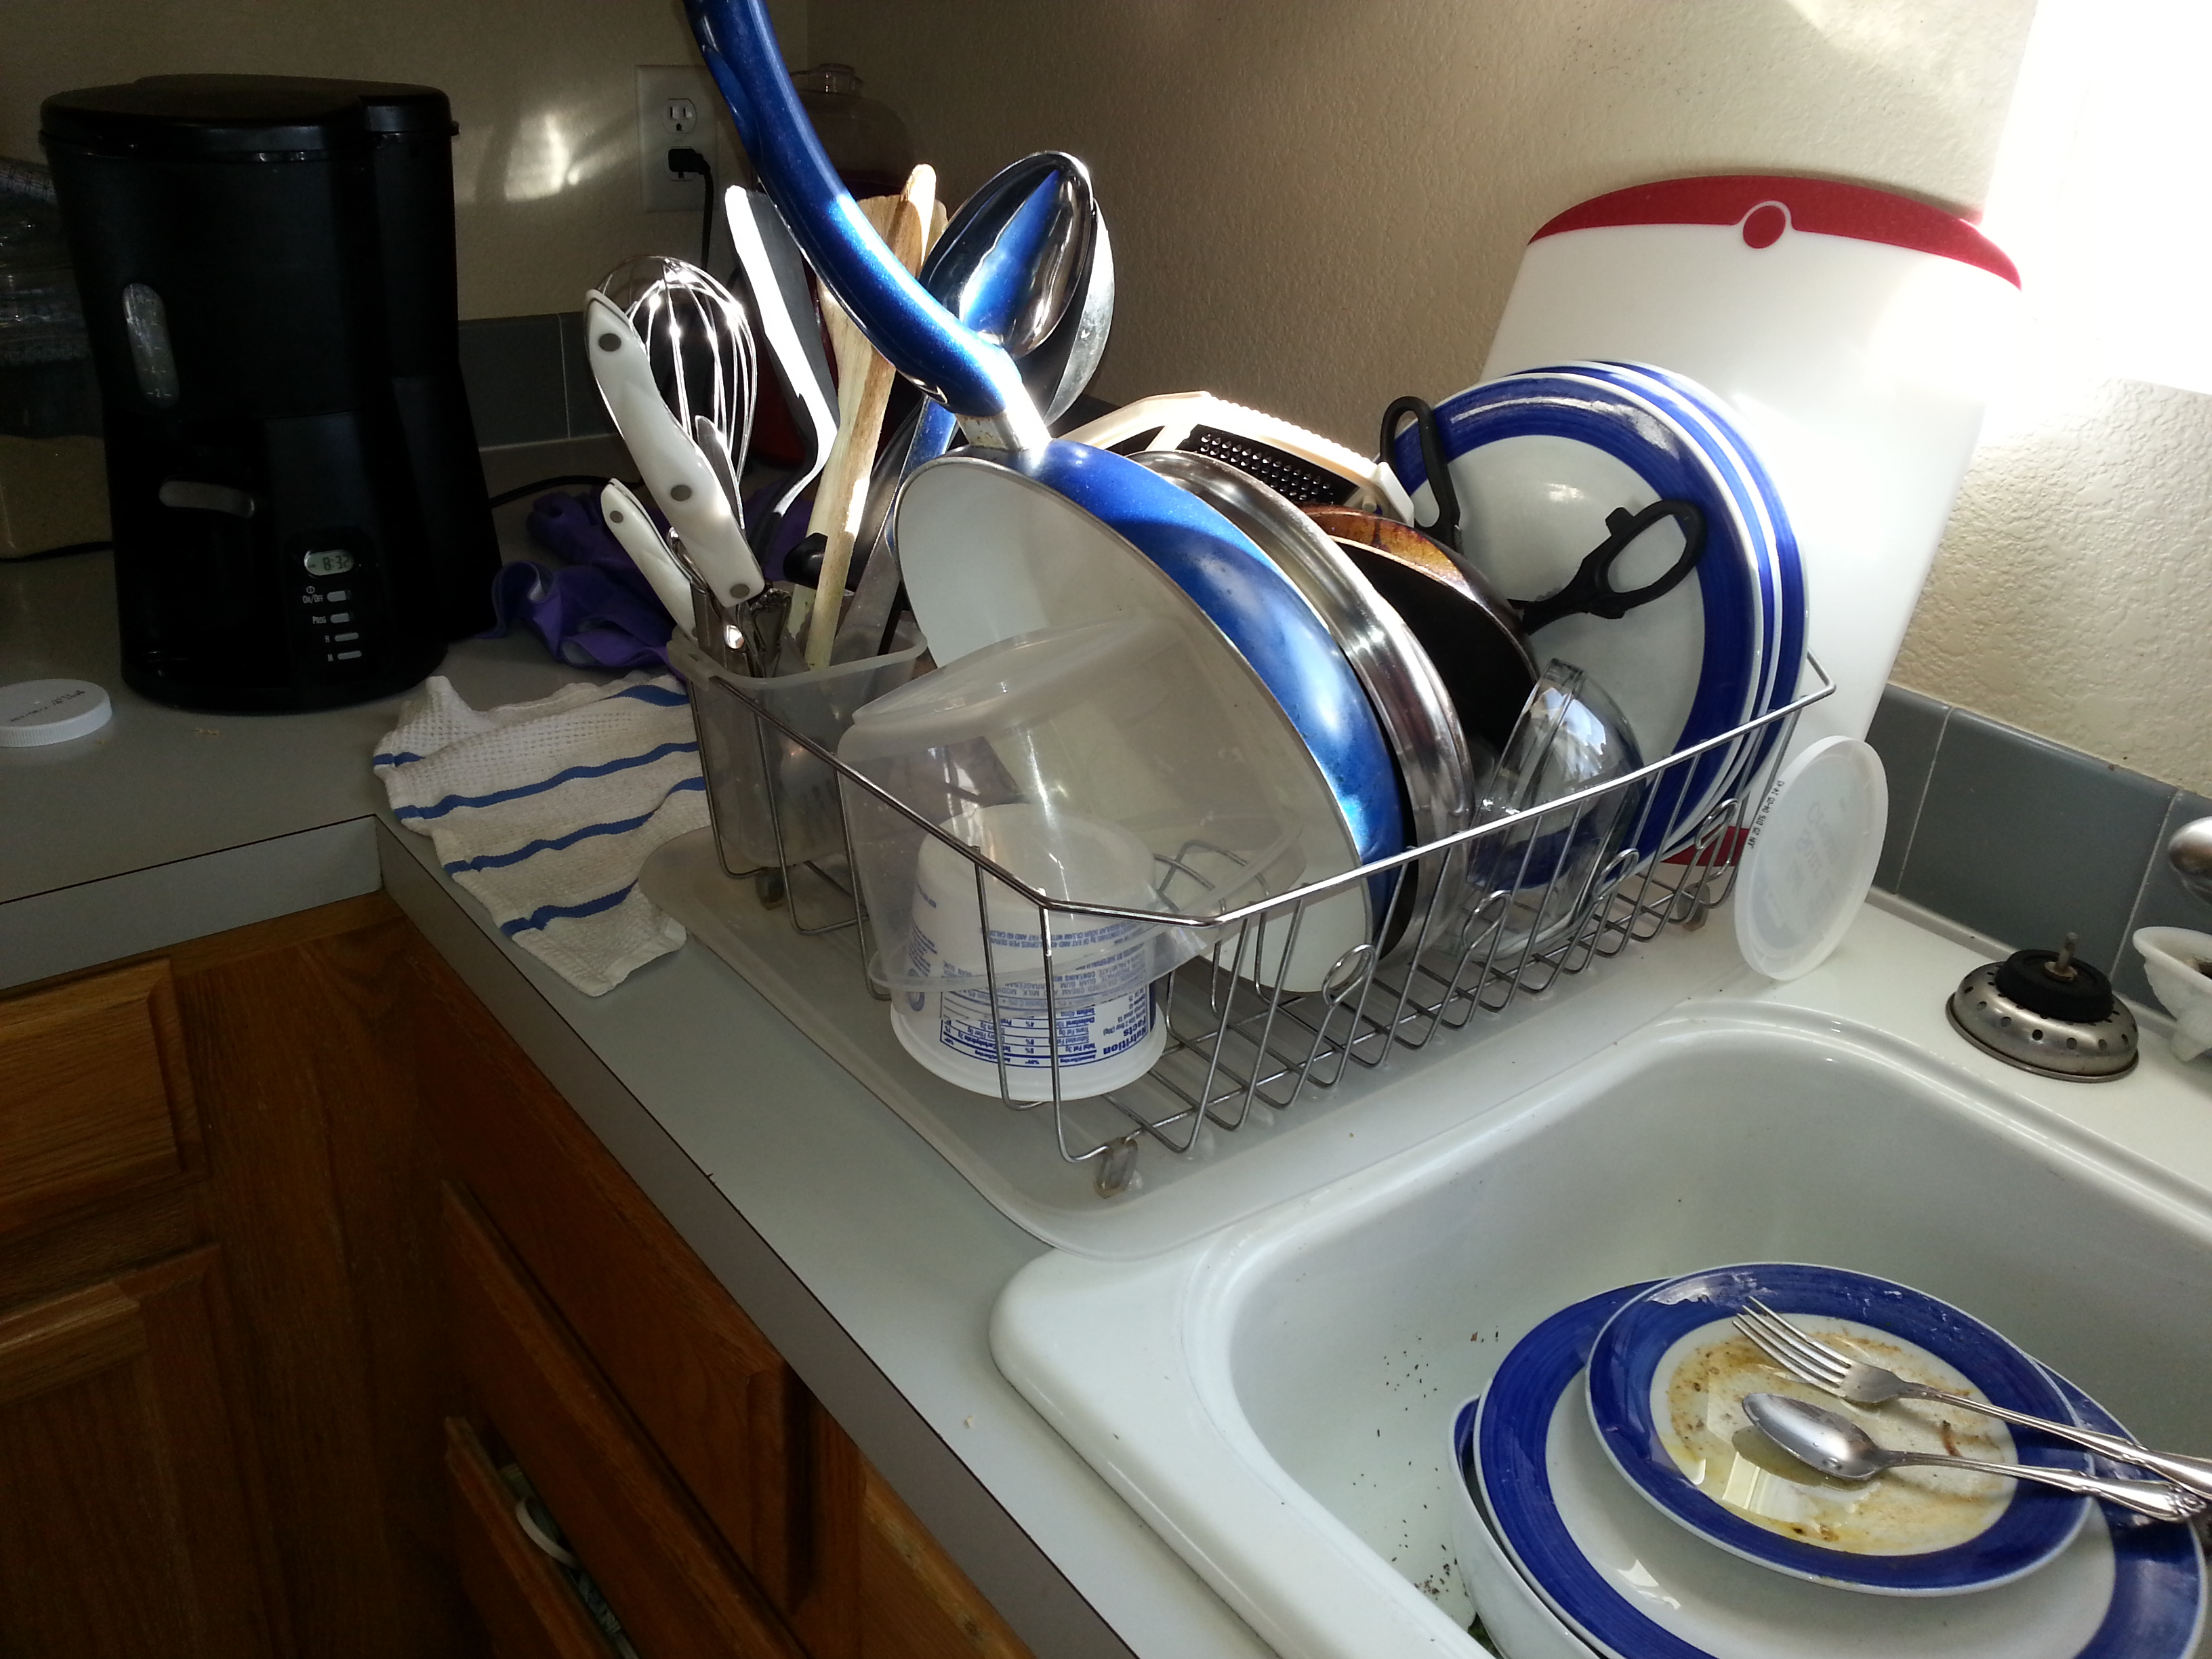
STEP THREE: Put away any clean dishes from your dish drainer.
Wash your hands first! You’ve been handling garbage! After you’ve emptied your dish drainer or dish towel (or dishwasher), scan the kitchen again for trash, recycling and food. Now you’re ready to start into the actual washing part of the deal! Yay!

STEP FOUR: Empty your dish pan (or one side of the sink). Rinse it down. (Scour it if necessary.) Now it’s ready for-
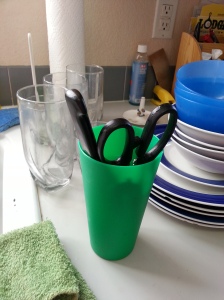
STEP FIVE: Round up all the flatware (i.e. forks, spoons, etc.) and utensils (i.e. spatulas). Throw these into the pan and fill with hot, soapy water (as hot as you can stand ). Caution: Do not put sharp knives or kitchen shears in the dish pan! Set these aside for now so that you don’t get cut reaching under the suds and grabbing a blade by mistake.
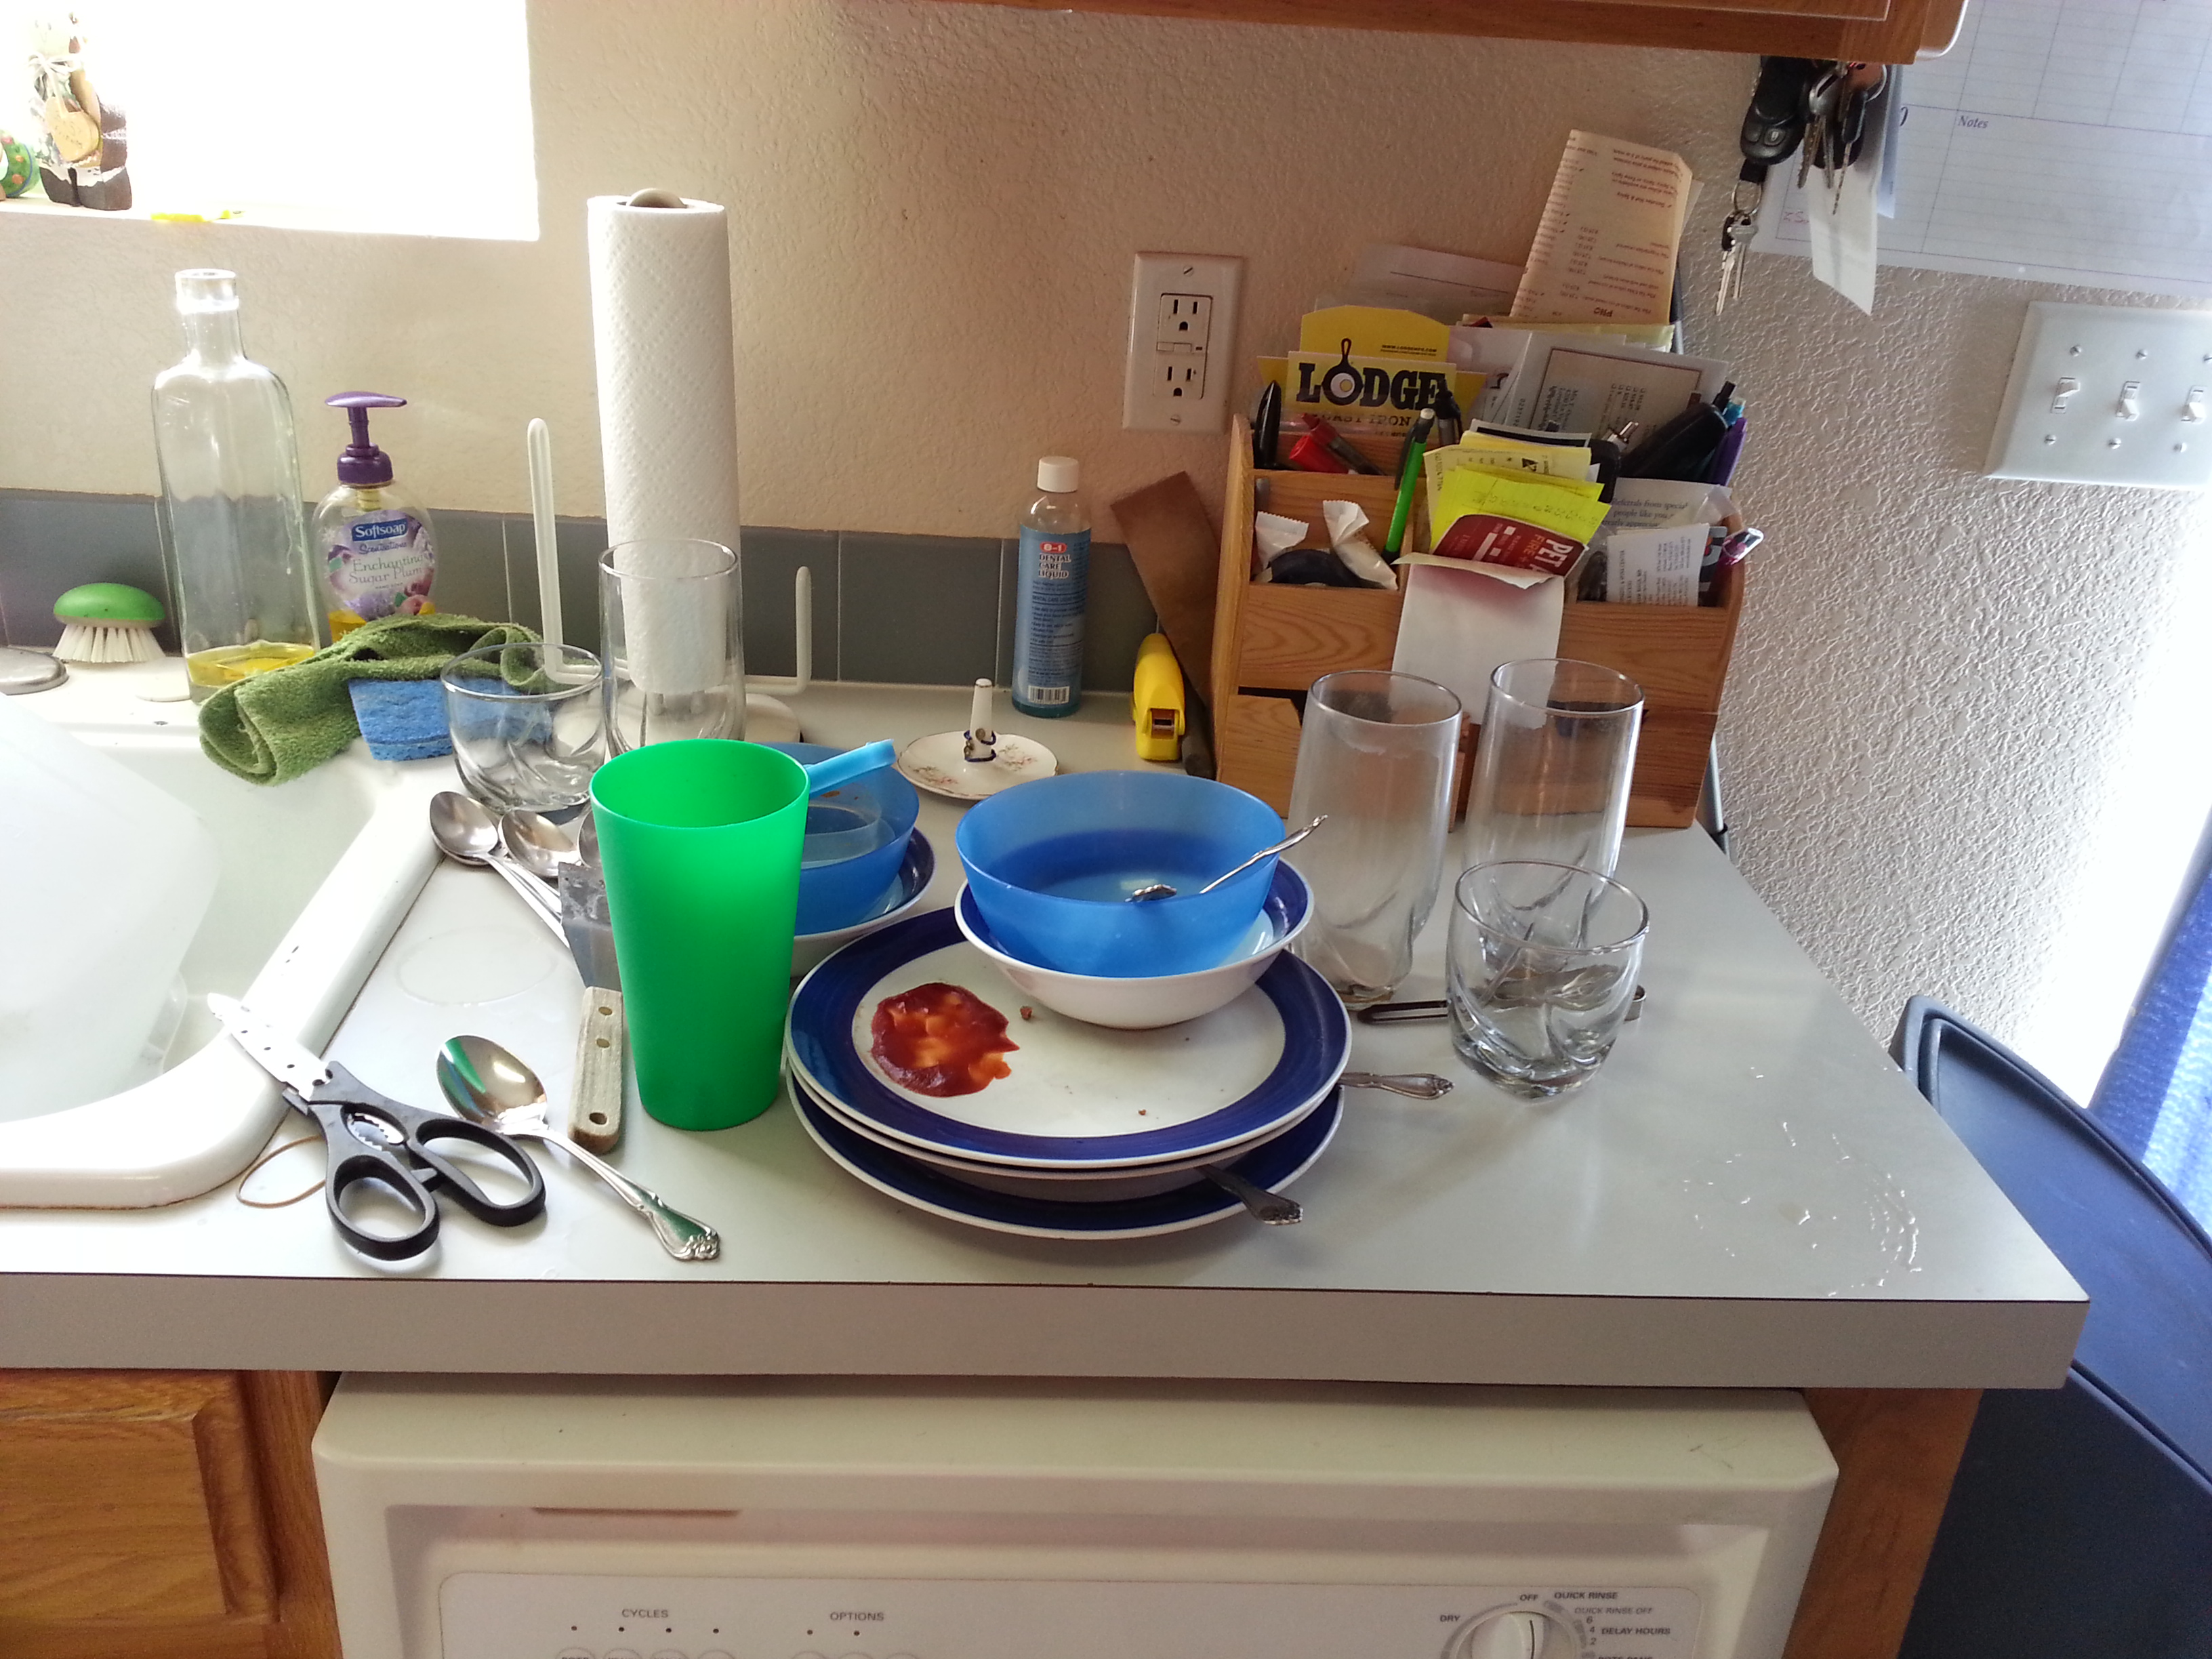
Empty both sides of the sink. You will need to temporarily place dishes from the sink wherever you can find room for them on the counters (or even the table if necessary). One side will be for your soapy water, preferably in a dish pan, but you can just directly fill the sink. The other side will be for rinsing.
If you have a garbage disposal, use this side as your rinsing side. You’re going to need the garbage disposal ready for yucky stuff you scrape from the dirty dishes as you’re getting everything set up. If you don’t have a garbage disposal, be careful not to let big food bits go down the drain. In that case, you’ll need to do your scraping into the trash can. If your flatware has big chunks of food on it, scrape and rinse before placing in the soapy water dish pan. Fill the pan with very hot water. I wear rubber gloves when I clean so that I can use straight hot water. The heat helps break down grease and dissolve sugars. It also helps me feel as though I’m killing more germs, even though it may not actually be hot enough to be doing so.

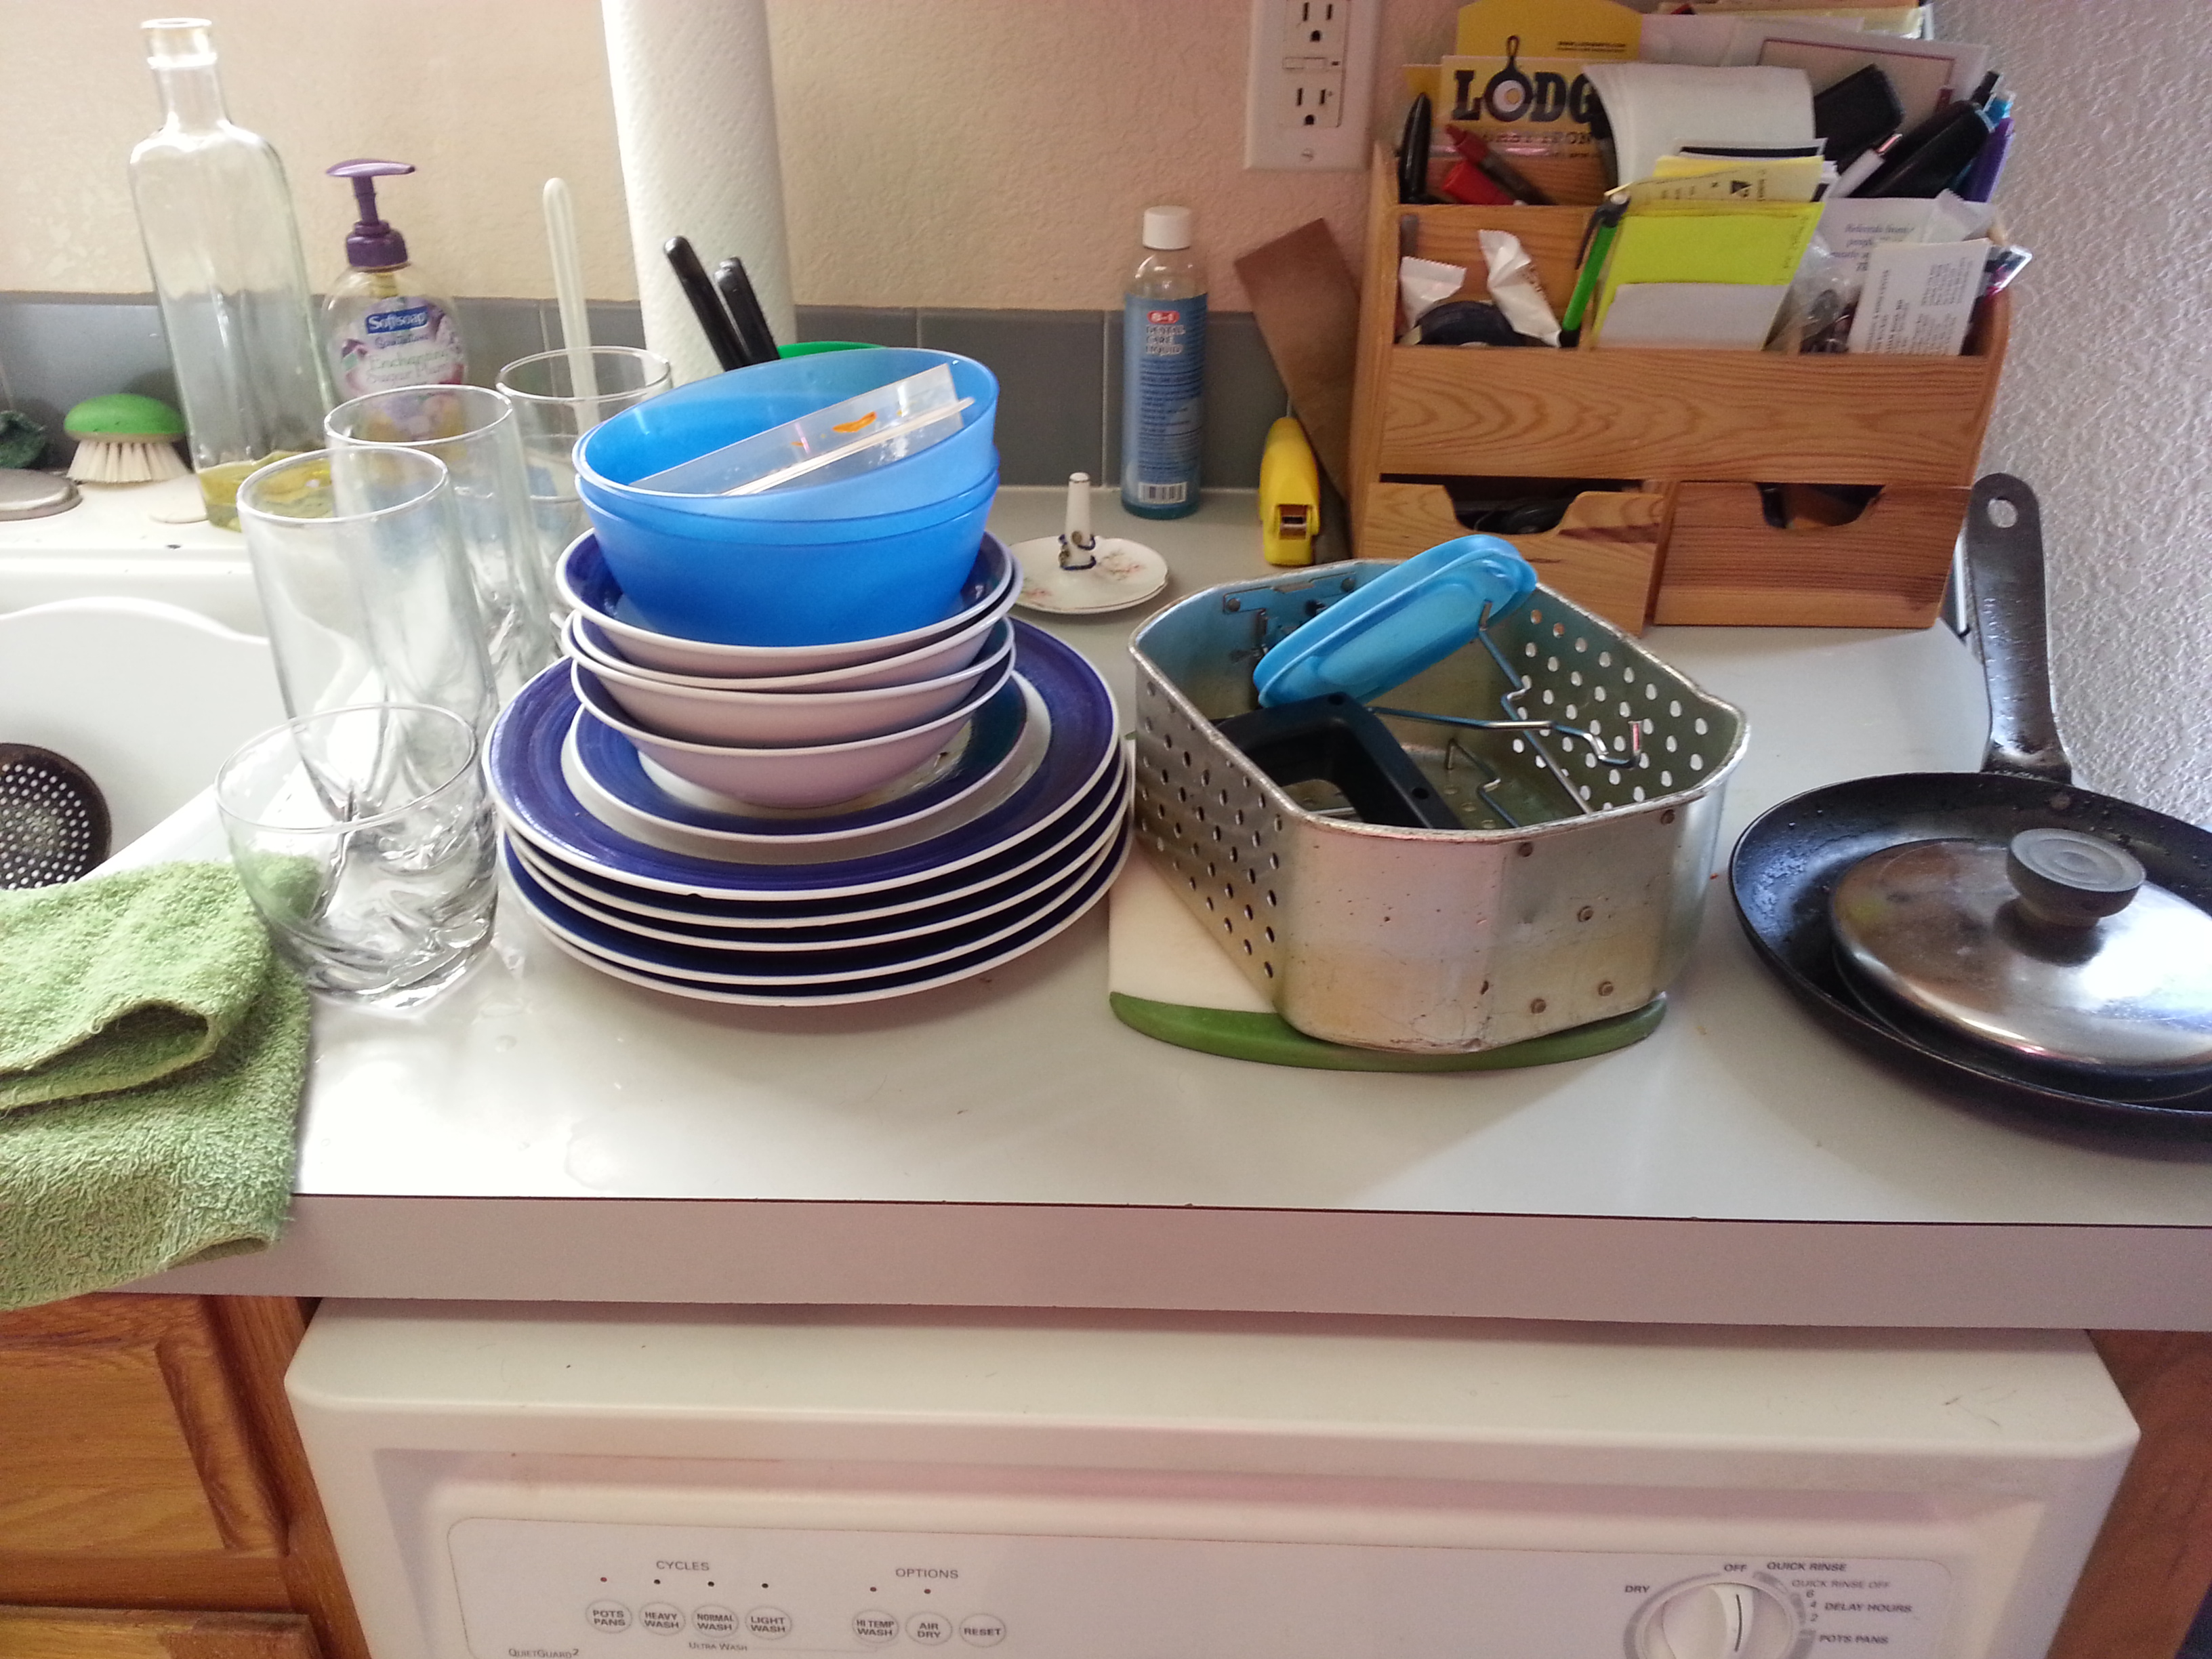
Now, look around for a dirty pitcher, cup or bowl and use that to soak your sharp items such as knives. Fill this with hot water (and a drop of two of dish detergent if you wish) and add your knives and shears, blade ends pointing down. Place this pitcher or whatever close to the wall on the side of the sink closest to the dish pan. (I didn’t place this by the wall in my photo, but it’s a good idea to have it back out of the way so you are less likely to tip it over and make yourself even more of a mess.) This is your “dirty dish stacking area”.
Now dump the contents of all your glasses, cups, and mugs into the empty side of the sink. (If a glass had milk in it, you may want to run a little water in it to soak as you are getting things organized. Milk tends to be a little more difficult to remove and can disappear when wet, then reappear when the glass is dry.) Arrange these in the dirty dish area and closest to the sink. You’re going to be washing these first. It’s okay to stack plastic cups inside of one another to conserve space. I wouldn’t recommend this for glass or ceramic items as this can make them more likely to break.
Next, you will scrape all the plates either into the garbage disposal or the trash. Organize these next to the glasses, stacking them by size with the biggest plates on bottom and the smallest on top. Repeat this step with any bowls. If your stacks of plates are short enough to be stable, you may put the bowls on top of them.
The next items you scrape and rinse will be any serving type dishes, again stacked by size and placed next to the plates and bowls. Cooking dishes such as pots and pans and casserole dishes will be last and be stacked next to the serving dishes. If you run out of room on the counter next to the sink, you may place items on another counter or the table. (My counters are kind of short, so I wind up doing this frequently if I have served a big meal or let the dishes go for more than a day.)
NOTE: If you have a pan with quite a bit of oil or grease in it, empty this into a metal or plastic disposable container. Then wipe it out with a towel so that you won’t have it “globbing up” your dish cloth and overwhelming the soap in your wash water. DO NOT dump this down your drain; it will clog it. If you have it available in your area, you can save this in a lidded container and take to the recycle center for making into bio diesel. (Some places don’t take animal fat, so you may need to let that bacon grease solidify and scrape it into the trash.)
Now that you have neatly organized your dirty dishes, scour the rinsing side of the sink and rinse it down. Now you are ready to begin actually washing.
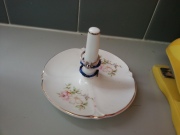
If you have a ring holder, you may remove any rings so that they don’t tear your gloves or get lost in the water.Please don’t just place a ring on the counter or in a window sill. You will just be asking for an accident. If you don’t have a ring holder, put your rings in a jewelry box or a drawer for safekeeping.
Now go to my next blog entry for:
STEP SIX: Wash those dishes!
